As I outlined in my last post, my primary Tropy project is mostly composed of handwritten correspondence. I also have side projects that include different types of sources. And I’ve also been getting my sources in a different way.
Tropy doesn’t care where you get your images from. In addition to taking photos in an archive, many of us use images we download from the Internet. Many archives have digitized and made available some or all of their collections. These digitized images are research images just like ones we take ourselves.
Keeping track of digital images downloaded from the Internet can be more difficult than keeping track of photos we take ourselves. It’s doubly important to record immediately the metadata for those images, because an image lost to the entire Web is much harder to recover than an image lost simply to your hard drive and memory of the archival visit.
The best way to illustrate this point is to demonstrate my process for working with some of these downloaded images.
Make a Custom Template
For my most recent side project, I’ve been focusing on newspapers from Chronicling America. Knowing that I was going to be using newspapers, I wanted to harvest as much consistent metadata from those papers as possible. So I created a custom template for newspapers.
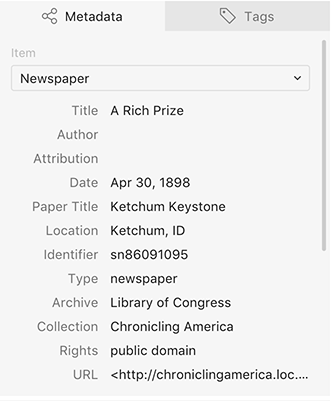
My template breaks down into three basic groups of information: article information, paper information, and archive information. The first three fields deal with the article itself–the title of the article, its author (if listed), and the attribution (where it was reprinted from, if listed).
The second group relates to the paper–the date of publication, the paper title, and its location. I’ve also included here an identifier, which for me is a number that identifies the paper, not the article.
The third group relates to the place I found the paper. The archive and collection denote the holder of the digital image (this is important for papers in Chronicling America in particular–the physical copies of the digitized papers reside in various state institutions, so when I fill in “Library of Congress,” I’m indicating the location of the digital image, not the physical newspaper). I’ve put the rights information here as well. Finally, I include a URL. This URL links to the smallest digitized unit I can get. In Chronicling America, the URL points to a specific newspaper page. In other newspaper repositories such as America’s Historical Newspapers, it could be a URL to a specific article.
Download Images
Once I had my template ready to go, I began to search for newspaper articles. Once I found one, I downloaded the image of the page I wanted. Chronicling America images download as JPEG 2000, which isn’t a format Tropy currently supports. However, converting to JPG is a quick and easy process (on a Mac, open your image in Preview and export as JPG).
Without closing the webpage of the newspaper page, I did the conversion and pulled the image into Tropy.
Add Metadata
Once I had my image in Tropy, I returned to the Chronicling America page to find the metadata. (Real talk: It is pretty helpful to have two monitors here so you don’t have to keep switching back and forth between Tropy and your web browser.)
Putting in the metadata is straightforward. Copying and pasting straight from the webpage eliminates spelling mistakes, or you can take a little risk and do the typing yourself. (I alternate between these two options.)
Reading and Using the Article
As I’ve worked with Chronicling America images for Tropy, I’ve learned a few things about usability. Newspapers are very dense and have very small type, which makes them hard to read. I tested a few different ways to give my eyes a break as I worked with the images in Tropy.
Chronicling America allows you to “clip” a portion of the page, just like an editor with scissors. At first I thought this technique would help me keep the image size manageable. However, the clip function is inexact at best. And I discovered that the clipped image is fairly low-resolution, unlike the JPEG 2000 image of the whole page.
Tropy provides a different solution to this problem. Its tools allow me to get the benefit of having the high-resolution image of the whole page with the legibility of a smaller section. In the item view, you can create a selection to demarcate a specific area of your photo. You can then zoom directly to that area, change that area’s title, and add notes specifically related to that area. You can have multiple selections per image, so if you’re interested in more than one article on the page, or your article spans multiple columns, you can manage them all in one item. So I get the advantage of the clipping function along with the full-resolution image.
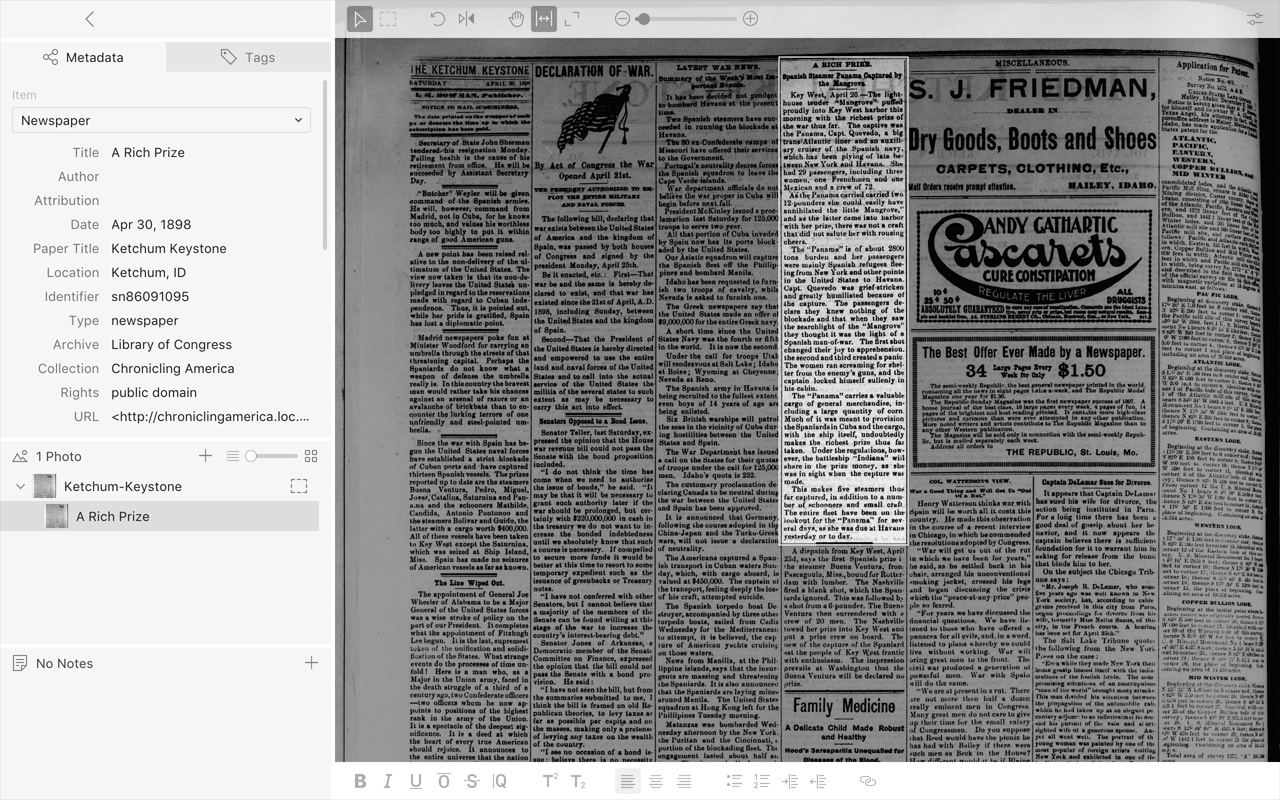
Newspapers are still clunky, because an article is a tall and skinny area. When I’m creating my selections, I generally drag the notes pane to its smallest size, so nearly the whole window is the image, fit to the width of the window. When I’m ready to take notes or do analysis, I can pull the notes pane back up and zoom in on my selection.
In conclusion…
One of Tropy’s major strengths is its flexibility. Because I can create my own templates and take notes on multiple parts of a photo, working with newspapers is considerably less of a headache than it used to be (both literally and figuratively!).